Standing in a bustling Brazilian churrascaria, the smell of picanha steak filled the air. It was irresistible. The juicy beef, rich in flavor, was a feast for the eyes. I knew I had to learn how to cook this Brazilian favorite at home.
Now, I’m excited to share how to make pan-seared picanha just like a restaurant. You can do it in your kitchen too.
This guide will teach you about picanha steak. You’ll learn how to dry brine and sear it perfectly. Plus, you’ll find out the best timing and temperature for a delicious, tender, and flavorful dish.
Whether you’re an experienced chef or just love cooking, this article will help. You’ll learn how to make Brazilian steak the highlight of your next meal.
Table of Contents
Understanding Picanha: The Brazilian Crown Jewel
Picanha is a prized cut of beef from the top of the rump cap muscle. It’s known for its amazing flavor and tenderness. The fat cap on this Brazilian treasure adds a lot to its taste and juiciness.
When choosing Brazilian picanha, look for a bright red color. Also, check for a consistent white fat layer, usually 1/4 to 1 inch thick.
What Makes Picanha Special
Picanha is a versatile and affordable cut, weighing 2 to 3 pounds. Its thick fat cap makes it stand out. It offers a delicious texture and rich flavor.
This premium sirloin cap or rump cap is a favorite in Brazilian cuisine. It’s also loved worldwide for its exceptional qualities.
Identifying Quality Picanha at the Butcher
When buying picanha, look for a bright red color and even fat distribution. The fat cap should be well-proportioned. This balance is key to the cut’s character.
Experienced butchers can help you pick the best picanha for your dishes.
The Importance of the Fat Cap
The fat cap is crucial for picanha’s flavor and tenderness. As it cooks, the fat melts, basting the beef. This makes for a juicy and delicious meal.
It’s important to keep the fat cap intact while cooking. This way, you can fully enjoy the flavors of this Brazilian delicacy.
Essential Tools and Ingredients for Pan-Seared Picanha
To make your picanha steak cooking better, you need some key tools and ingredients. First, a heavy-bottomed cast iron skillet or stainless steel pan is vital. These pans keep heat well, helping your picanha steak get a great crust.
For seasoning, you’ll need lots of coarse picanha seasoning. This mix usually has kosher salt and black pepper. It brings out the beefy taste of the picanha.
- Cast iron skillet or stainless steel pan
- Coarse salt
- Black pepper
- High-heat cooking oil (such as olive or avocado oil)
- Garlic (optional)
- Shallots (optional)
- Fresh herbs (such as thyme) (optional)
- Unsalted butter (for basting) (optional)
- Meat thermometer
For more flavor, add garlic, shallots, and fresh herbs like thyme. Also, use unsalted butter to baste your steak later. A meat thermometer is key to cooking your steak just right.
With these tools and ingredients, you’re set to cook a delicious picanha steak at home.
Preparing Your Picanha for Cooking
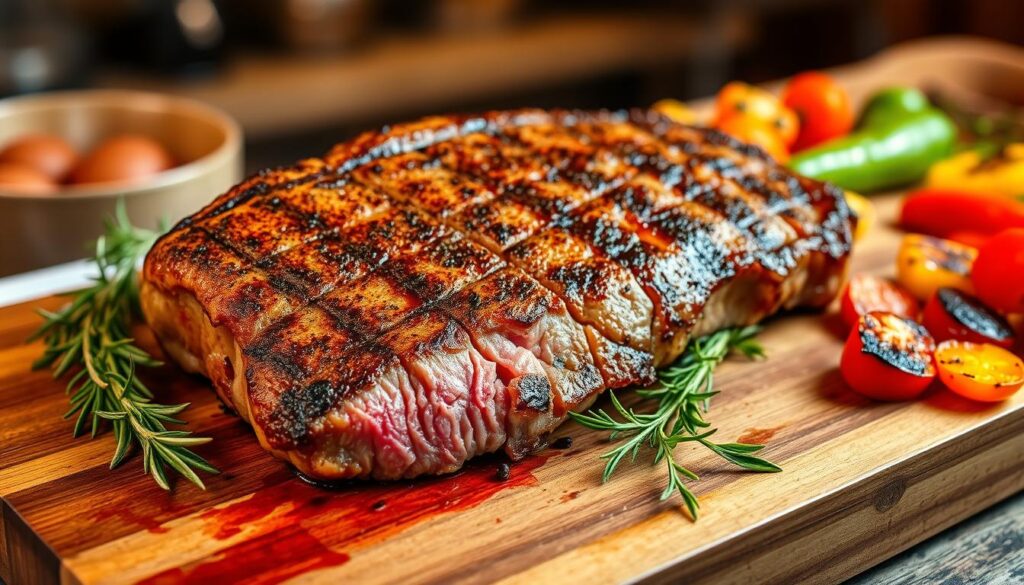
To start cooking your picanha steak, first score the fat cap in a crosshatch pattern. This helps the fat melt and lets seasonings get into the meat better. Then, season the picanha generously with coarse sea salt. Rub it into the meat’s crevices for even coverage.
Proper Seasoning Techniques
For the best taste, try dry brining your picanha. Put the seasoned cut on a rack in the fridge for 12 to 48 hours. This lets the salt tenderize the meat and boost its natural flavors.
Room Temperature Guidelines
- Let the picanha warm up to room temperature for about an hour before cooking. This ensures it cooks evenly and sears well.
- After warming up, season it with freshly ground black pepper. This adds to the flavor from the coarse salt used in dry brining.
By following these steps, you’re ready for a fantastic pan-seared picanha steak. You’ll unlock the rich, beefy flavors that make this Brazilian cut so popular.
The Art of Dry Brining Picanha
Starting with the dry brining technique can really boost your picanha steak’s flavor. This method involves seasoning the meat with salt and letting it sit in the fridge for 12 to 72 hours. The salt pulls out moisture, which the meat then absorbs, seasoning it from the inside out. It also makes the meat more tender by breaking down muscle fibers.
The dry brining technique is a big deal for salt-curing picanha. It lets the meat rest with the salt, creating a deep flavor and even seasoning. This method also helps the picanha get a better crust when seared, thanks to the moisture loss.
- Begin with coarse salt, like kosher salt, for dry brining. Its larger crystals spread out evenly over the meat.
- Season the picanha well, including the fat cap, with salt, making sure it’s fully covered.
- Put the seasoned picanha on a wire rack over a baking sheet. Refrigerate it uncovered for 12 to 72 hours, depending on the cut size. Longer brining times mean more flavor.
- Before cooking, dry the picanha with paper towels to remove excess moisture drawn out during brining.
Dry brining picanha is a simple yet powerful technique that can take your steak game to the next level. By brining the meat right, you’ll get a flavorful and juicy picanha that will wow your guests.
How to Cook Picanha Steak in a Pan
Learning to pan-sear picanha steak is a big step up in cooking. It makes this special Brazilian cut even more delicious. With the right steps, you can cook a tender, flavorful picanha steak at home. Let’s explore how to bring out the best in this prized beef.
Temperature Control Techniques
Getting the temperature right is key to a great picanha steak. First, heat your pan until it smokes a bit. This makes sure it’s hot enough for a nice sear. Then, put the picanha steak fat side down and turn the heat down to medium. This helps the fat melt slowly, adding flavor and texture.
Fat Rendering Process
It’s important to let the fat render well. Cook the steak for about 4 minutes without moving it. This lets the fat melt and flavor the meat. Then, move the steak in circles for 2 minutes to brown it evenly.
Flipping and Basting Methods
Flipping and basting the steak are next. Flip the steak and lower the heat to low-medium. Add garlic, shallots, and herbs for extra flavor. Baste the steak with melted butter or fat for 5-6 minutes, until it’s just right.
By following these steps, you’ll make a delicious pan-seared picanha steak. Remember, let the fat melt, control the heat, and baste to keep the flavors in.
Perfect Timing and Temperature Guide
Getting the perfect picanha steak is all about timing and temperature. You want to aim for an internal temperature of 130-135°F (54-57°C) for medium-rare. The thickness of the steak affects the picanha cooking time and steak doneness.
Start by searing the picanha for 4-6 minutes on each side. This will help you reach the perfect medium-rare temperature. But, always use a meat thermometer to check the temperature accurately. The temperature will rise a bit more during the resting time, so aim slightly lower than your final goal.
| Steak Doneness | Internal Temperature |
|---|---|
| Rare | 125°F (52°C) |
| Medium-rare | 130-135°F (54-57°C) |
| Medium | 145°F (63°C) |
| Medium-well | 150°F (66°C) |
| Well done | 160°F (71°C) |
For a different cooking method, try the reverse sear. Smoke the picanha at 200°F (93°C) until it hits 115-120°F (46-49°C). Then, sear it quickly in a pan to get that perfect crust.

Adding Aromatics and Butter Basting
Make your butter basted steak taste better by adding aromatic ingredients. Garlic, shallots, and fresh thyme are great choices. They add depth and complexity to your picanha.
As the steak cooks, tilt the pan and use a spoon to baste it. Baste it with melted butter, pan juices, and aromatics. This method makes the steak richer and cooks it evenly.
Choosing Complementary Herbs
Fresh herbs can change the flavor of your picanha. Thyme is especially good with beef. It adds a subtle earthy and minty flavor that goes well with the steak’s richness.
Butter Basting Technique
- Tilt the pan slightly to allow the butter to pool on one side.
- Use a spoon to scoop up the melted butter, pan juices, and aromatics.
- Carefully baste the top of the steak, ensuring even coverage.
- Repeat this process several times throughout the cooking process.
The butter basting technique gives your butter basting steak a golden-brown crust. It also cooks the meat evenly, making it juicy and flavorful.
| Ingredient | Quantity |
|---|---|
| Garlic Cloves | 2-3 cloves, minced |
| Shallots | 1 small, finely chopped |
| Fresh Thyme | 2-3 sprigs |
| Butter | 2-3 tablespoons |
Resting and Slicing Your Picanha
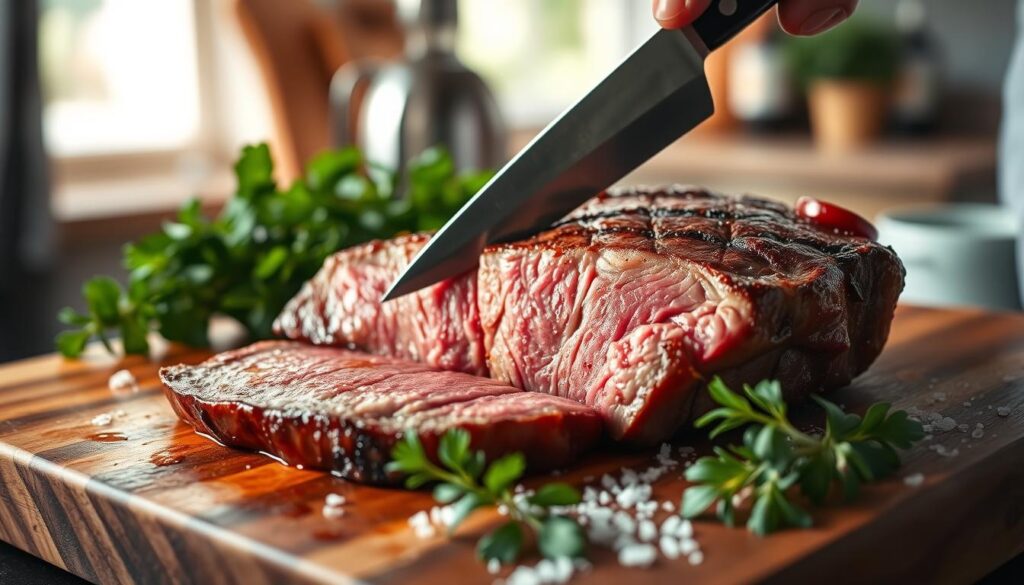
After cooking your resting steak, let your picanha rest for 30 minutes. This step lets the juices spread out evenly. It makes each bite juicy and full of flavor.
To rest your picanha, move it to a wire rack or a clean cutting board. This helps the air get to the steak. It also makes the steak more tender as it cools down.
- After 30 minutes, it’s time to slice your picanha.
- Use a sharp knife to slice the picanha against the grain. This makes the slices thin and even.
- Slicing against the grain makes the meat tender and easy to chew.
Once sliced, serve your picanha right away. You can add the fat cap for extra flavor. Enjoy this Brazilian steak masterpiece!
| Statistic | Value |
|---|---|
| Picanha Steak Price Range | $5 to $15 per pound |
| Typical Picanha Steak Weight | 2 to 3 pounds |
| Picanha Refrigeration Lifespan | Up to 4 days |
| Picanha Freezer Lifespan | Up to 45 days |
| Recommended Reheating Temperature | 400°F for 8 to 12 minutes |
| Medium-Rare Internal Temperature | 125°F to 130°F |
| Recommended Resting Time | 30 minutes |
| Fat Cap Thickness | 1/4″ up to 1″ |

Common Mistakes to Avoid When Cooking Picanha
Cooking picanha steak can be tricky. One big mistake is not scoring the fat cap right. This can cause uneven cooking and less tasty fat.
Another mistake is overcooking the steak. It’s important to use a meat thermometer to check the internal temperature. Aim for 130-135°F for the perfect medium-rare. Also, letting the steak come to room temperature before searing helps prevent uneven doneness.
When slicing the picanha, always cut against the grain. This makes the steak tender. And don’t forget to let the steak rest after cooking. This step helps the juices spread out, making the steak more flavorful and juicy.

