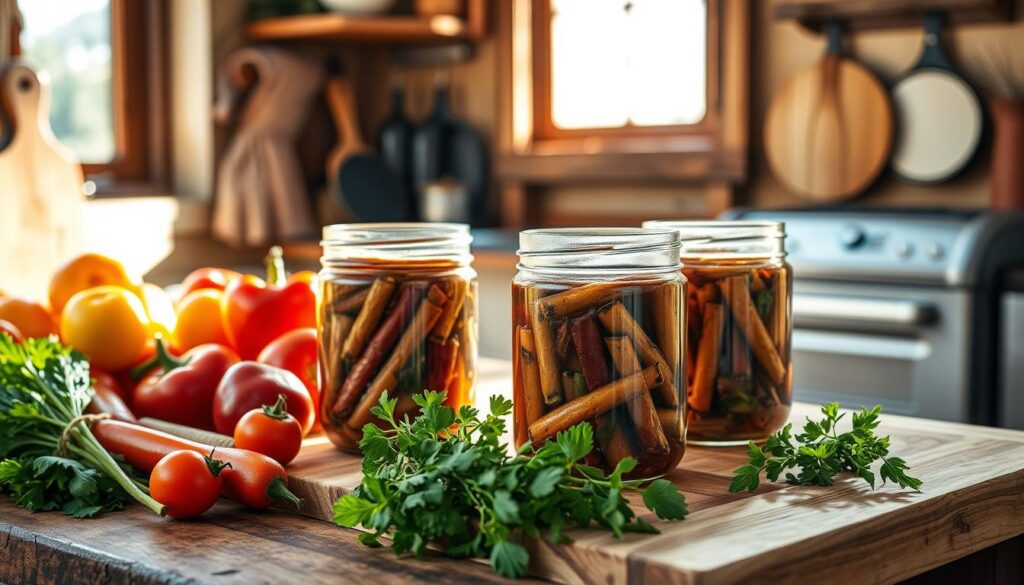
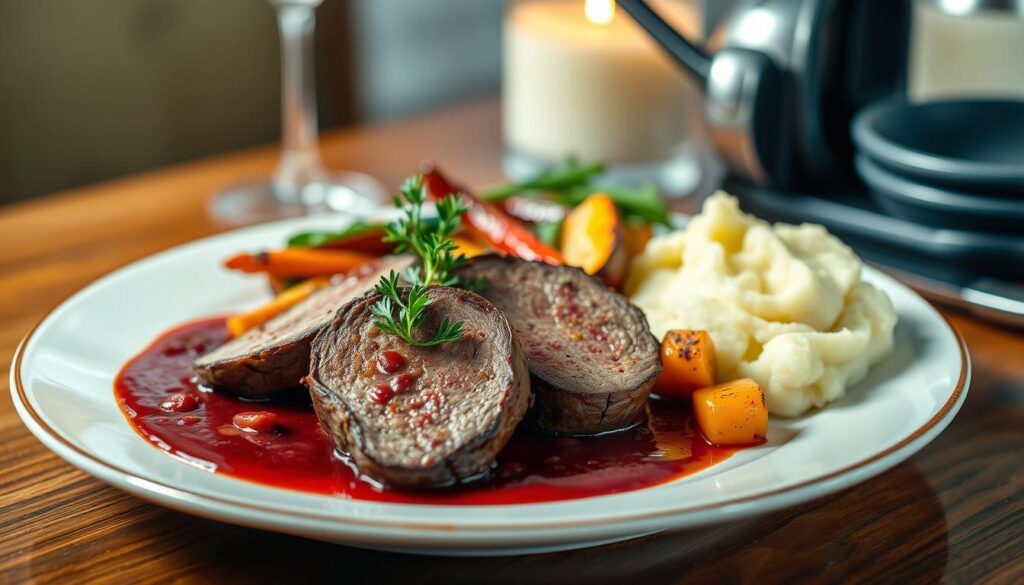
As autumn arrives, the air is filled with the scent of leaves and the promise of warm meals. For many, this season means hunting season. It’s a time to connect with nature and provide for families with wild game.
If you hunt or love venison’s flavor, preserving it is key. Canning venison keeps its taste fresh and saves freezer space. We’ll look at easy, tasty canned venison recipes to enhance your meals.
Canned venison is great for quick stews, savory stroganoffs, or as a base for many dishes. Its tender texture and rich flavor can turn simple ingredients into a feast. Let’s explore the many ways canned venison can elevate your cooking!
Table of Contents
Understanding the Basics of Venison Preservation
Canning venison is a great way to keep your meat fresh for a long time. It’s better than freezing because it lasts longer and is safe even without power. You’ll need a pressure canner, jars, lids, and rings to start.
Benefits of Canning Over Freezing
Canned venison lasts 2-5 years, making it perfect for long-term storage. It’s also safe during power outages, keeping your meat fresh. This is a big advantage over freezing.
Essential Equipment for Canning Venison
- Pressure canner: A must-have for safely canning meat to prevent the growth of botulism-causing bacteria.
- Canning jars: Wide-mouth jars are recommended for easier cleaning after canning meat.
- Canning lids and rings: Ensure a proper seal for your jars to maintain food safety and preservation.
Safety Considerations and Guidelines
Safety is key when canning venison. Meat must be processed in a pressure canner to kill harmful bacteria. Always follow USDA guidelines and the National Center for Home Food Preservation for safe canning.
| Recommended Headspace for Venison | Salt Recommendation | Pressure Canning Time |
|---|---|---|
| Ground Venison: 1 inch | Pint Jars: 1/2 tsp Quart Jars: 1 tsp | Pints: 1 hour 15 minutes Quarts: 1 hour 30 minutes |
Preparing Your Venison for Canning
When canning venison, the meat’s quality is key. High-quality venison leads to tasty canned meat. Start by removing fat, bruised parts, gristle, and silver skin. This makes the meat better in taste and texture.
Then, cut the meat into 1-inch cubes or thin strips. This size helps with even cooking and keeps the meat safe during canning. Always clean jars, lids, and tools well before canning to keep food safe.
- Trim away fat, bruised pieces, gristle, and silver skin to improve venison quality
- Cut meat into 1-inch cubes or thin strips for even meat cubing
- Thoroughly sanitize jars, lids, and equipment before venison preparation
By preparing your venison well and following safety steps, you’re ready for great canning. This care ensures your venison is top-notch. It’s ready to become a variety of tasty dishes.
Raw Pack vs Hot Pack Methods
When canning venison, you can choose between raw pack and hot pack. Each method has its own benefits. Knowing the differences helps you pick the best one for you.
Raw Pack Step-by-Step Guide
The raw pack method is fast. It involves putting uncooked venison straight into jars. Here’s how to do it:
- Cut the venison into cubes or chunks. Pack them tightly into clean, sterilized jars, leaving 1-inch headspace.
- Don’t add any liquid to the jars. The meat will release its own juices during canning.
- Wipe the jar rims clean. Then, secure the lids and bands.
- Process the jars in a pressure canner at the recommended pressure and time for your altitude.
Hot Pack Technique Benefits
The hot pack method partially cooks the venison before canning. This makes the final product taste better and look nicer. The benefits include:
- Better liquid coverage of the meat, ensuring it’s fully submerged
- More uniform texture and appearance of the canned venison
- Potential for a more tender and flavorful end result
Choosing the Right Method
When choosing between raw pack and hot pack, think about what you want. Raw pack is quicker and easier. Hot pack makes the venison taste and look better. Both methods are safe if done right. Pick the one that fits your needs and experience.
For more info on venison canning techniques, check out the National Center for Home Food Preservation.
Best Canned Venison Recipes for Beginners
Starting with canning? No worries, you can still make tasty canned venison meals. Try venison stew, venison chili, and a venison stroganoff base. These recipes are easy. Just pack cubed venison with veggies, seasonings, and broth in jars. Then, pressure can them for a ready-to-eat, long-lasting meal.
For a basic venison stew, cube the venison and layer it with potatoes, carrots, onions, and broth in jars. Mix the venison with beans, tomatoes, chili powder, and spices for venison chili. The venison stroganoff base can be turned into a creamy pasta dish with butter, flour, wine, and sour cream.
As you get better, try new flavors and ingredients in your canned venison. Always follow safe canning practices and use a good pressure canner. This ensures your canned food is safe and tasty.

Canned venison can last up to two years or more if stored right. So, stock up on this healthy meat. Enjoy venison stew, venison chili, and more canned venison meals all year.
Seasoning and Flavoring Options
Choosing the right seasoning and flavoring is key when canning venison. Venison’s unique flavor works well with many herbs, spices, and aromatics. Try different mixes to find what you like best.
Traditional Spice Combinations
Classic seasonings for venison include salt, black pepper, garlic, and onion. For a traditional taste, add bay leaves, thyme, or rosemary. These herbs enhance the venison’s rich flavor, making it comforting.
Herbs and Aromatics
Explore fresh herbs and aromatics to spice up your venison. Venison seasoning can be improved with rosemary, sage, or juniper berries. Add lemon zest or apple cider vinegar for a bright note.
Make a basic seasoning mix ahead of time. It saves time and ensures consistent flavor. Try different herb combinations for venison to discover your favorite.
| Ingredient | Quantity |
|---|---|
| Venison stew meat – sliced thin | 1 1/2 lbs |
| Butter | 2 Tbsp |
| Onion, white – small diced | 1 |
| Mushrooms, white – sliced | 1 lb |
| Salt, iodized | 1 tsp |
| Pepper | 1/2 tsp |
| Beef Stock/Broth | 2 lbs |
| Tomato Paste | 4 Tbsp |
| Heavy Cream | 2 cups |
| Cornstarch | 4 Tbsp |
Advanced Canned Venison Recipes
Take your canned venison to the next level with these gourmet recipe ideas. Go beyond simple stews and casseroles. Try new flavors and cooking methods to make your canned venison dishes stand out.
Begin by making venison sausage or jerky-style strips. These are great snacks or add-ins for meals. Use exotic spices to enhance the rich taste of wild game.
For a fancy canned venison dish, add wine, tomato products, or unique veggies. Try Venison Stroganoff for a creamy, savory sauce. Or, make Spicy Venison Chili with peppers, beans, and spices.
Choose any advanced canned venison recipe, but remember to follow proper pressure and processing times. This ensures food safety and the best flavor. With creativity, canned venison can become a gourmet wild game dish.

Canned Venison Stroganoff
This recipe mixes pressure-canned venison with a creamy sauce and spices. Serve it over egg noodles or mashed potatoes for a hearty meal.
| Ingredients | Quantity |
|---|---|
| Canned venison, cubed | 1 ½ cups |
| Diced onions | ½ cup |
| Dried mushrooms, rehydrated | ¼ cup |
| Minced garlic | 1 clove |
| Beef stock | 1 cup |
| Sour cream | ½ cup |
| Flour | 2 Tbsp. |
| Salt and pepper | To taste |
- Combine all ingredients in a saucepan and simmer until thickened, about 15-20 minutes.
- Serve hot over cooked egg noodles or mashed potatoes.
Storage and Shelf Life Guidelines
Properly canned venison is a great way to keep protein handy for meals. It can last for months or even years with the right storage. Let’s look at how to store canned venison and spot spoilage signs.
Proper Storage Conditions
To keep your canned venison fresh, store it in a cool, dark spot. The best temperature is between 50°F and 70°F. Don’t let it sit in direct sunlight or where the temperature changes a lot, as this can cause it to spoil faster.
Once the jars cool down, take off the metal bands. This stops moisture from building up, which can lead to mold or bacteria. Always check the seals before storing. If a lid is loose or bulging, throw the jar away.
Signs of Spoilage
Before you use your canned venison, check each jar carefully. Look out for these signs of spoilage:
- Bulging lids – This means gas is building up, a sign of bad bacteria.
- Off-odors – A bad smell from the jar.
- Discoloration – If the meat or liquid looks cloudy or has changed color.
If you see any of these, it’s best to throw the whole jar away. Eating spoiled canned venison can be very dangerous. It’s always safer to be cautious.
| Shelf Life of Canned Venison | Proper Storage Conditions |
|---|---|
| Up to 2 years | Cool, dark place (50°F to 70°F) |
| Potential for up to 4 years | Remove metal bands after cooling |
| Saves freezer space | Check seals before storing |
By following these guidelines, you can enjoy your canned venison for a long time. Always check each jar carefully before using it to keep food safe.
Quick Meals Using Canned Venison
Canned venison is perfect for busy weeknights. It’s already cooked, so you can make many dishes fast. Try it over rice or mashed potatoes for a tasty, healthy meal.
Want something different? Use canned venison in tacos, fajitas, or sandwiches. Just heat it up, add your favorite toppings, and enjoy a quick, tasty meal. It’s also great in soups, stews, or casseroles for a filling meal.
Canned venison is packed with protein and is lean. It’s a great choice for quick, healthy meals. Let it be the main ingredient in your next quick dinner.

